I like the paper images supplied by Faller (180516 and 180517) but I like the sky off since I already have sky on the walls. Here are the steps involved in mounting the backdrops in front of the sky...
Each image starts off like this, then I cut the sky off with a sharp work knife.

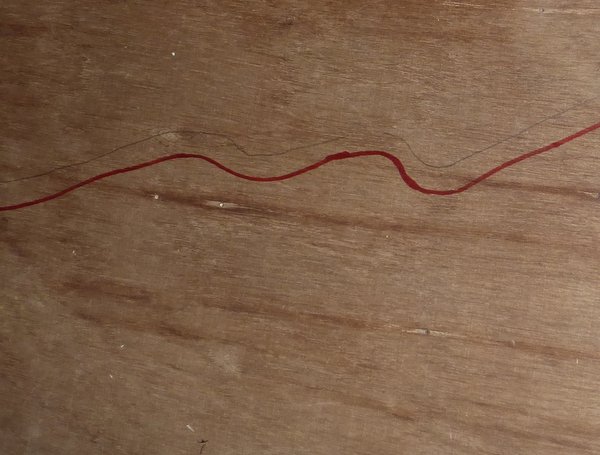
I then trace the horizon onto some 1/4" plywood in pencil. Then I draw a line about 15mm lower which will be the edge of the plywood.
I then cut along that line with a jig-saw.

Now we turn to the mounting on the wall, the part of the layout where these will go covers a hidden station, so I needed to mount some angle iron on the wall to support the layout surface first... This shows three levels, an upper level at a constant slope, the main track level below that running over an undulating surface and then the hidden station already in place below that.

The 'ground level' is not level, but will be farmland through which the main line will run.

I then mounted the support for the raised ground behind the mainline.

The backdrop gets screwed to a length of 'strapping' - 1"x 3" lumber which is first screwed to the rear wall. On top of this strapping I lay a strip of LED lights that will provide light from behind the mountains. The LED lights come in 5m rolls and so I need to join two together. The sky wall provides an easy way to get wiring down to a lower level, I just drill a hole and push the wires down.

Here the power supply wire (12V DC) is connected to both LED strips...

and can be tucked into the hole to minimize any shadows being cast upwards.

This shows the strapping and the lights in place waiting for the plywood...

The plywood sheets come in 8' lengths, shorter than the length of each Faller backdrop (2.9m). That means I have to have joints behind the paper. Since we do not want any light to shine through the joint I used duct tape to fasten a length of black card across the length of the joint.

Here is the mask in place behind the first piece of plywood.

Once the next piece of plywood has been screwed into place, trim off any excess.

Now the tricky part, gluing the paper onto the backdrop. On my previous layout someone suggested I use rubber cement to do this. Do not do this, the results are awful.
I switched to 3M spray adhesive and it is much better. Since the run of backdrop on this layout is going to be about 8 meters long, I decided that I have to place the paper on after the plywood is mounted. (Trying to move it all in one piece will tear at the joins.) So here is how I did it.
I taped some plastic onto the wall to prevent any over-spray from getting on the wall. I also covered track etc. in the foreground.

I then placed the paper onto the board along the bottom edge and spread it on taking care not to create any 'bubbles'. here are the first three panels in place.

With the rear LED lights on, one gets a nice dawn/dusk look. (I used warm white LEDs and have them on a dimmer so that the brightness can be adjusted.)
